If you’re looking for an exercise for balance for elderly that actually fits real life—standing safely, building control step by step, and reducing fall risk—this chair-supported plan is for you. We’ll walk through a Levels 1–3 progression (static → dynamic → walking) with clear reps/time, form cues, and stop rules so you can train consistently without guessing.
This article is for general informational purposes and is not medical advice. If you have recently fallen, have severe dizziness, new weakness, numbness, chest pain, or symptoms you can’t explain, contact a clinician before starting. Perform exercises only if you can do so safely with support (chair/rail). Consider supervision from a healthcare professional if balance is significantly impaired. Stop immediately if you feel pain, dizziness, or feel you may fall.
Why balance changes with age (and what exercise can improve)
Balance is a system—not a single skill. It depends on your legs and hips (strength), your sensory input (what you feel through your feet and joints), your reaction time (how fast you correct), and your ability to move through space (dynamic control).
Common causes: steadiness, strength, reaction time
- Steadiness and sensory input: Some people feel less “information” from the feet and ankles, making it harder to react to small slips.
- Strength and joint control: Weakened hip abductors/extensors and reduced ankle stability can make your body sway more than it needs to.
- Slower reaction/correction: When you’re off-balance, you may need a stronger, quicker correction—something training can support.
Good news: balance exercises for seniors can help improve steadiness and the ability to recover from small disturbances—especially when you progress gradually and practice with safe support.
If your sleep is disrupted, balance practice can be harder to stick with consistently; for context on recovery, see Mens Sleep Optimization: A 14-Night Plan for Falling Asleep, Staying Asleep (anchor phrase “sleep and fall risk / recovery”).
Safety first: setup, supervision, and when to avoid
The best plan is the one you can do safely. This is why the progression below is chair-supported at the start.
Use a chair/rail; proper footwear; clear space
- Chair/rail setup: Place a sturdy chair (or countertop/rail) close enough that you can lightly hold it with one or both hands. Keep the seat height comfortable—ideally you can sit down instantly if needed.
- Surface: Use a non-slippery floor. Avoid rugs. Mark a starting position with a small piece of tape if helpful.
- Footwear: Wear supportive, closed-toe shoes or slippers with a solid sole. Avoid socks-only if you slip.
- Supervision: If your balance is significantly impaired, have a caregiver or healthcare professional supervise.
- Hydration and time of day: Choose a time when you feel steady (not right after a big meal or when you’re overly tired).
Stop conditions and getting medical guidance
Stop and seek advice if any of the following apply:
- New falls or near-falls in daily life
- Severe dizziness, fainting, new weakness, numbness, chest pain, or symptoms you can’t explain
- Pain that changes your movement pattern
- Shortness of breath beyond normal effort
Also stop immediately if you feel you may fall, feel pain, or become dizzy.
For additional, clinically aligned examples of how balance work is often taught (including sideways walking concepts), see the NHS resource: NHS balance exercises.
Balance exercise progression for elderly (10–15 minutes)
Think of this as a standing balance progression you can repeat. You’ll do Level 1 first, then move to Level 2, and only then try Level 3. If you feel unstable, stay at your current level longer—consistency beats rushing.
| Level | What you train | Support | Time/volume |
|---|---|---|---|
| Level 1 | Static steadiness | Chair/rail with light hand support | 2–4 sets, 10–30 seconds each |
| Level 2 | Dynamic control (movement) | Chair/rail nearby; one-hand support if needed | 2–4 rounds, 5–10 reps or short distances |
| Level 3 | Walking control | Start with support; progress to less support | 1–3 rounds of 10–30 steps |
Choose-your-level selector (chair vs freer standing)
- Holding a chair/rail most of the time: Start at Level 1.
- One-hand support feels comfortable: Start at Level 2 (unless you’ve had recent falls).
- Can walk short distances safely without grabbing furniture: You may attempt Level 3, but still keep the chair nearby.
Rule of progression: Only move up a level when you can complete the reps/time with good control and without needing to “catch yourself.”
Level 1 (supported static balance): feet-together holds, heel/toe shifts
Goal: Build steadiness and ankle/hip awareness without moving your feet far.
-
Feet-together hold (with support)
- Starting setup: Stand behind the marked starting line. Hold the chair/rail lightly (fingertips or a relaxed hand grip). Feet together or near-together (comfortable width).
- Form cues: Tall posture, soft knees (not locked), ribs stacked over hips. Keep your gaze at eye level ahead.
- Do: 2–4 sets of 10–30 seconds.
- Progression: Reduce hand support (fingertips → one hand → lighter contact). Increase time by 5–10 seconds per session.
-
Heel-toe shifts (weight transfer)
- Starting setup: Stand as above, holding support.
- Form cues: Keep hips and knees facing forward. Move from ankles/feet—don’t twist your torso.
- Do: 8–12 reps slow, controlled shifts: rocks forward onto toes, then back onto heels (small range first).
- Progression: Increase range slightly (until you feel controlled), then reduce support.
Common mistake: over-gripping the chair and hunching your shoulders. Aim for “light support,” not “using the chair as balance.”
Level 2 (supported dynamic): sideways walking, standing march
Goal: Improve balance while your body moves and your step placement matters.
-
Sideways walking (gait control)
- Starting setup: Stand sideways to the chair/rail so you can hold it with one hand if needed.
- Form cues: Keep hips facing forward (don’t twist). Take small steps, with the foot landing flat and stable. Look forward, not at your feet.
- Do: 5–10 steps sideways in one direction, then back.
- Progression rule: If you can do it with steady steps, reduce hand support from one hand → fingertips. Next week, increase total steps to 10–15 per direction.
-
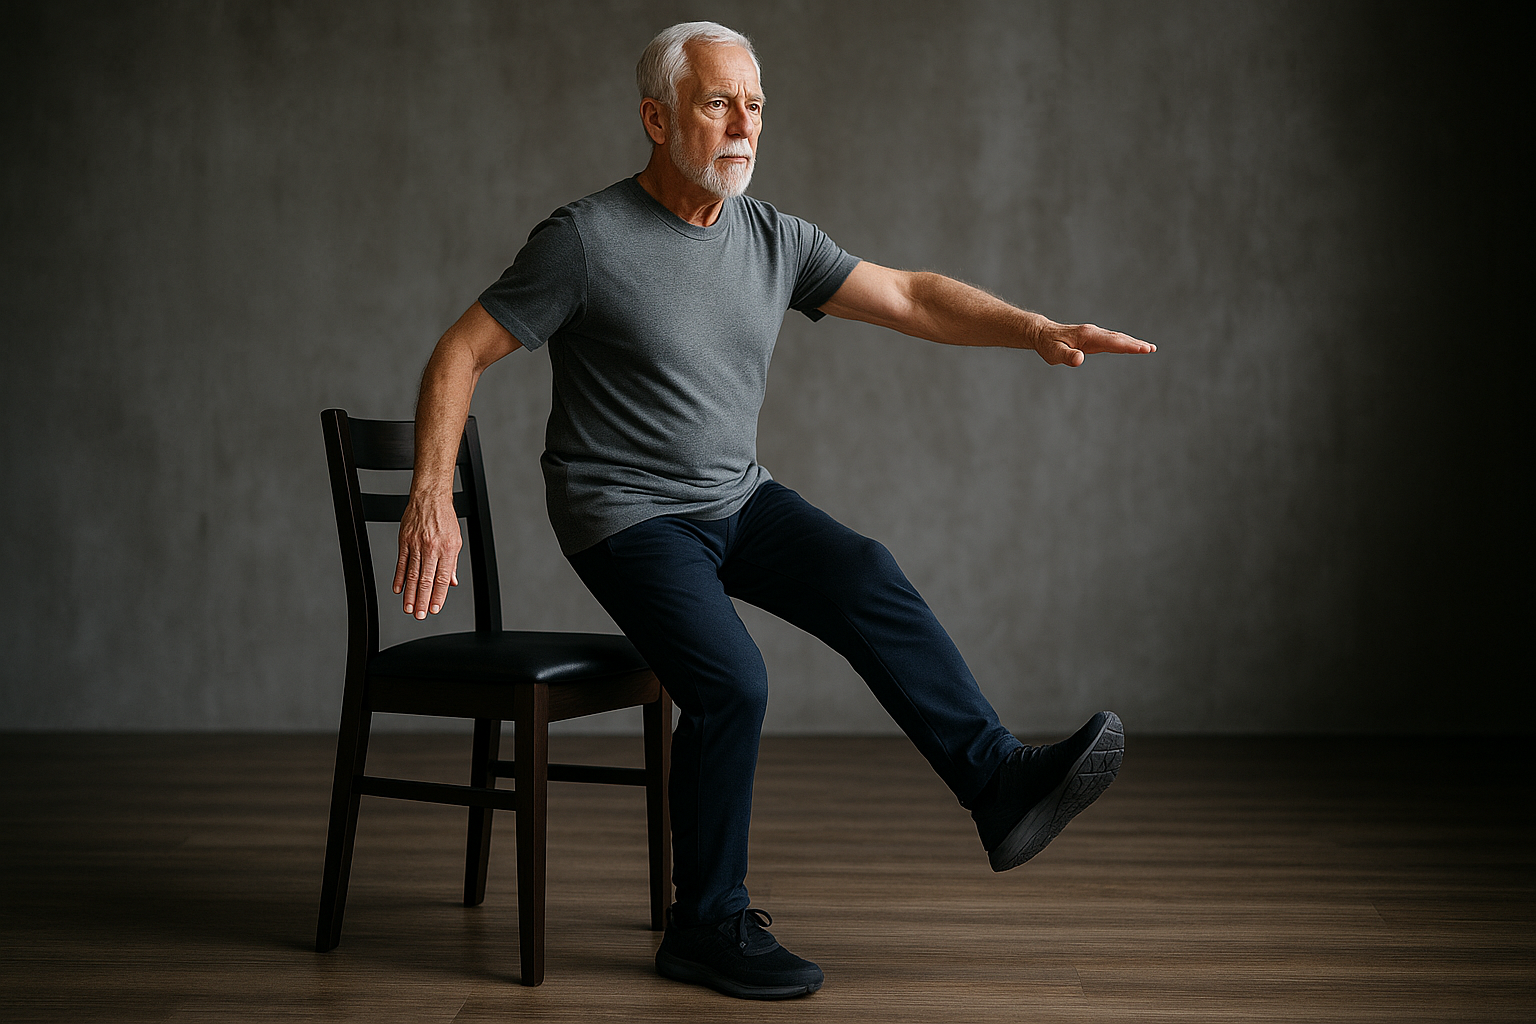
Standing march (controlled lift)
- Starting setup: Hold chair/rail lightly.
- Form cues: Lift one knee enough to clear the floor, but keep the standing hip level. Avoid leaning back to “help.”
- Do: 8–12 reps per leg (slow tempo).
- Progression rule: Increase to 12–16 reps per leg, then use less support or shorten the pauses between reps.
How this helps fall prevention: These movements train your ability to keep balance while stepping—similar to real-life adjustments when you turn, shift, or navigate around obstacles.
Level 3 (transition to walking): heel-to-toe walking / tighter gait control
Goal: Train step placement, foot control, and head/eye focus during walking.
-
Heel-to-toe walking (rail/chair support optional)
- Starting setup: Choose a hallway/space with good footing. Keep the chair/rail at one end within reach.
- Form cues: Imagine a straight line. Place one heel slightly in front of the other foot. Keep your head level and eyes forward. Don’t rush.
- Do: Walk 10–20 steps total, turn, and repeat for 1–3 rounds.
- Progression rule: Reduce support gradually. If you lose foot control, go back a step: shorter distance, slower pace, more support.
-
Short “confidence intervals” (dual focus without extra difficulty)
- Do: After your heel-to-toe round, walk 5–10 steps normally at a safe pace, then return to heel-to-toe. This helps translate control into everyday walking.
Common mistakes: looking down for every step, swinging arms wildly, or taking steps that are too large. Keep steps small and accurate.
Step-by-step exercise menu (with reps and form cues)
Use this as a quick “menu” so you’re not deciding every day. Pick the level that matches your current support needs.
Single-leg stand with support (time targets + progression)
Use with care. This is effective, but it’s also where falls happen if attempted too aggressively.
- Starting setup: Hold chair/rail with one hand. Stand tall, soft knees.
- Form cues: Keep hips level—don’t let the pelvis drop. Keep gaze forward.
- Do: Lift one foot slightly off the floor (small range is fine). Hold for 5–15 seconds. Do 3–5 reps per leg.
- Progression rule: Increase hold time by 2–5 seconds when you can maintain control. Reduce support only if you’re stable.
- Upgrade caution: Don’t jump to longer holds immediately. If you start swaying or grabbing harder, stop increasing.
Sideways walking / simple grapevine (support + range control)
You can keep it simple like sideways steps, or progress toward a “crossing” pattern later (often called a grapevine). Start with the safer version first.
- Starting setup: One hand on chair/rail if needed; stand sideways.
- Form cues: Lead with the feet, not the torso. Keep knees tracking forward. Step to place feet securely before you shift weight.
- Do (safe start): Sideways walking 5–10 steps each direction.
- Progression (optional later): If you’re stable, practice a small “cross-over” step for 3–5 steps total each direction, then return to normal sideways steps.
Conceptually, this matches the idea of sideways walking and grapevine-style balance work often shown in NHS guidance: NHS balance exercises.
Heel-to-toe walking (head/eyes and step placement cues)
- Starting setup: Chair/rail nearby. Keep a clear path.
- Form cues: Eyes forward, not down. Place the heel, then let the rest of the foot roll to contact. Hips and shoulders stay stacked.
- Do: 10–30 steps total, 1–3 rounds depending on fatigue.
- Progression rule: Add steps gradually (e.g., +5 steps), then slightly reduce support. Don’t increase pace first—accuracy first.
Weekly plan + how to progress without overdoing it
You don’t need a marathon. For most people, most days is better than one huge session—while still leaving your body room to recover.
Frequency guidance (most days) and gradual increases
- Beginner / higher support needs: 3–4 days per week, 10 minutes per session.
- Intermediate: 4–6 days per week, 10–15 minutes per session.
Progression without overdoing it:
- Week 1–2: Stick to Level 1 (and a small dose of Level 2 if stable).
- Week 3–4: Add Level 2 work if you’re consistently controlled.
- After that: Introduce Level 3 walking for short intervals (a few rounds) and keep chair/rail nearby.
How to know you’re progressing: You can do the prescribed reps/time with less hand support and without “wobble spikes,” rushed steps, or repeated resets.
FAQ: “Will these exercises prevent falls?” and other common concerns
What is the safest balance exercise for elderly beginners?
For many beginners, chair-supported feet-together holds and heel-to-toe weight shifts are a safe starting point because they limit the need to move while you build steadiness. Use light support and keep soft knees.
How often should I do balance exercises to improve steadiness?
Most people do best with 3–6 days per week for short sessions (about 10–15 minutes). Aim for quality and control rather than longer workouts.
Are chair-supported balance exercises effective, and how do I progress?
Yes—chair support helps you practice safely while your balance system learns. Progress by reducing hand contact gradually (light fingertips → less contact) and increasing time/reps only when control stays consistent.
What should I do if I feel dizzy or unsteady during an exercise?
Stop immediately. Sit down if needed, regain stability, and don’t restart that session. If dizziness is severe, recurrent, or unexplained, contact a clinician before continuing.
How can heel-to-toe walking improve balance, and what are common mistakes?
Heel-to-toe walking trains foot placement and controlled weight transfer, which supports steadier gait. Common mistakes include looking down constantly, taking steps too long/fast, and rushing the turn. Keep eyes forward, steps small, and tempo slow.
When should I see a physical therapist for balance problems?
Consider a physical therapist if you’ve had a recent fall, you’re unsure of your progression level, you can’t safely perform daily tasks, or you need individualized assessment (especially if balance issues are worsening).
When to seek professional help (PT/clinician)
Balance training is most effective when it’s matched to your risk level. Seek professional help if:
- You’ve fallen in the last year or you frequently “catch yourself.”
- Your balance problems started suddenly or are rapidly worsening.
- You have neurologic symptoms (new weakness, numbness) or unexplained dizziness.
- You have multiple conditions/medications that affect balance and you want a safer plan.
Conclusion: your next step
If you want an exercise for balance for elderly that’s practical and safe, start at Level 1 this week: feet-together holds plus heel-to-toe weight shifts with chair support. Do 10–15 minutes, 3–4 days, and progress only when you can control your sway without “grabbing harder.”
Next step: Choose your level based on how much support you need, then run the menu for 1 week before changing levels.